VW Black Steering Wheel Kit | Beetle, Ghia & Type 3 1962–1971 | 1966 Design, 400mm (79-4005-0)
VW Black Steering Wheel Kit | Beetle, Ghia & Type 3 1962–1971 | 1966 Design, 400mm (79-4005-0)
Couldn't load pickup availability
VW Black Steering Wheel Kit — 1966 Design with Wolfsburg Crest, 15 3/4" (400mm)
Give your classic Volkswagen's interior a crisp, factory-fresh look with this Complete Black Steering Wheel Kit. Designed to replicate the iconic 1966 factory aesthetic, this 15 3/4" (400mm) diameter wheel is the ideal choice for "nothing to hide" restorations or custom builds after a clean, understated cabin feel.
This is a total restoration solution, complete with a brilliant triple-chrome-plated half-moon horn ring and the classic black-and-chrome center horn button featuring the Wolfsburg-style crest. Precision-molded from UV-resistant high-impact resin over a high-strength steel core, it balances vintage style with modern durability.
Vehicle Fitment
VW Beetle: 1962–1971
VW Karmann Ghia: 1962–1971
VW Type 3: 1962–1971
Key Features & Benefits
Timeless 1966 Design: Features the signature "Half-Moon" chrome horn ring and Wolfsburg-style crest emblem.
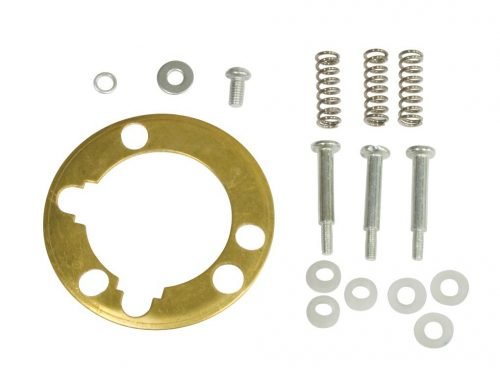
All-In-One Kit: Includes the black steering wheel, chrome horn ring, horn button, and all mounting hardware.
Modern Material Science: UV-resistant resin prevents the cracking and "sticky" feel common in original 50-year-old plastic wheels.
Original Dimensions: 15 3/4" (400mm) diameter preserves the factory steering ratio and leverage.
Steel Core Construction: Reinforced internal frame for structural integrity and safety.
Technical Specifications
Diameter: 15 3/4" (400mm)
Color: Black
Construction: High-impact UV-resistant resin over high-strength steel core
Included: Black wheel, triple-chrome half-moon horn ring, Wolfsburg-crest horn button, mounting hardware
Part Number: 79-4005-0
Explore Related Categories
Browse more in Steering Interior All VW Aircooled.
Share